A Step-by-Step Guide to Wrapping Oversized Boxes


Some of the best presents come in big boxes, and while we all love presenting extra-large gifts that attract oohs and aahs, actually wrapping that gift can be a challenge. Especially for those of us who aren’t already all that great at wrapping gifts, wrapping an oversized box can feel like a daunting task. But, as you’ll see, by simply following the proper steps, you’ll be able to wrap that box perfectly, without it taking a ton of time and effort.
Of course, wrapping an oversized box is going to come with some challenges, like making sure you cut the right amount of paper, and making sure you even have enough paper to begin with. Let’s go over the process now with our easy step-by-step guide.
Step 1: Measuring
First, you’ll want to take the time to measure both the box and the wrapping paper. With smaller boxes, it’s easier to get away with being less precise with the measuring part, because you’ll almost definitely have ample wrapping paper in case you get it wrong. But, with a large box, you’re working with limited resources, so you want to be much more accurate.
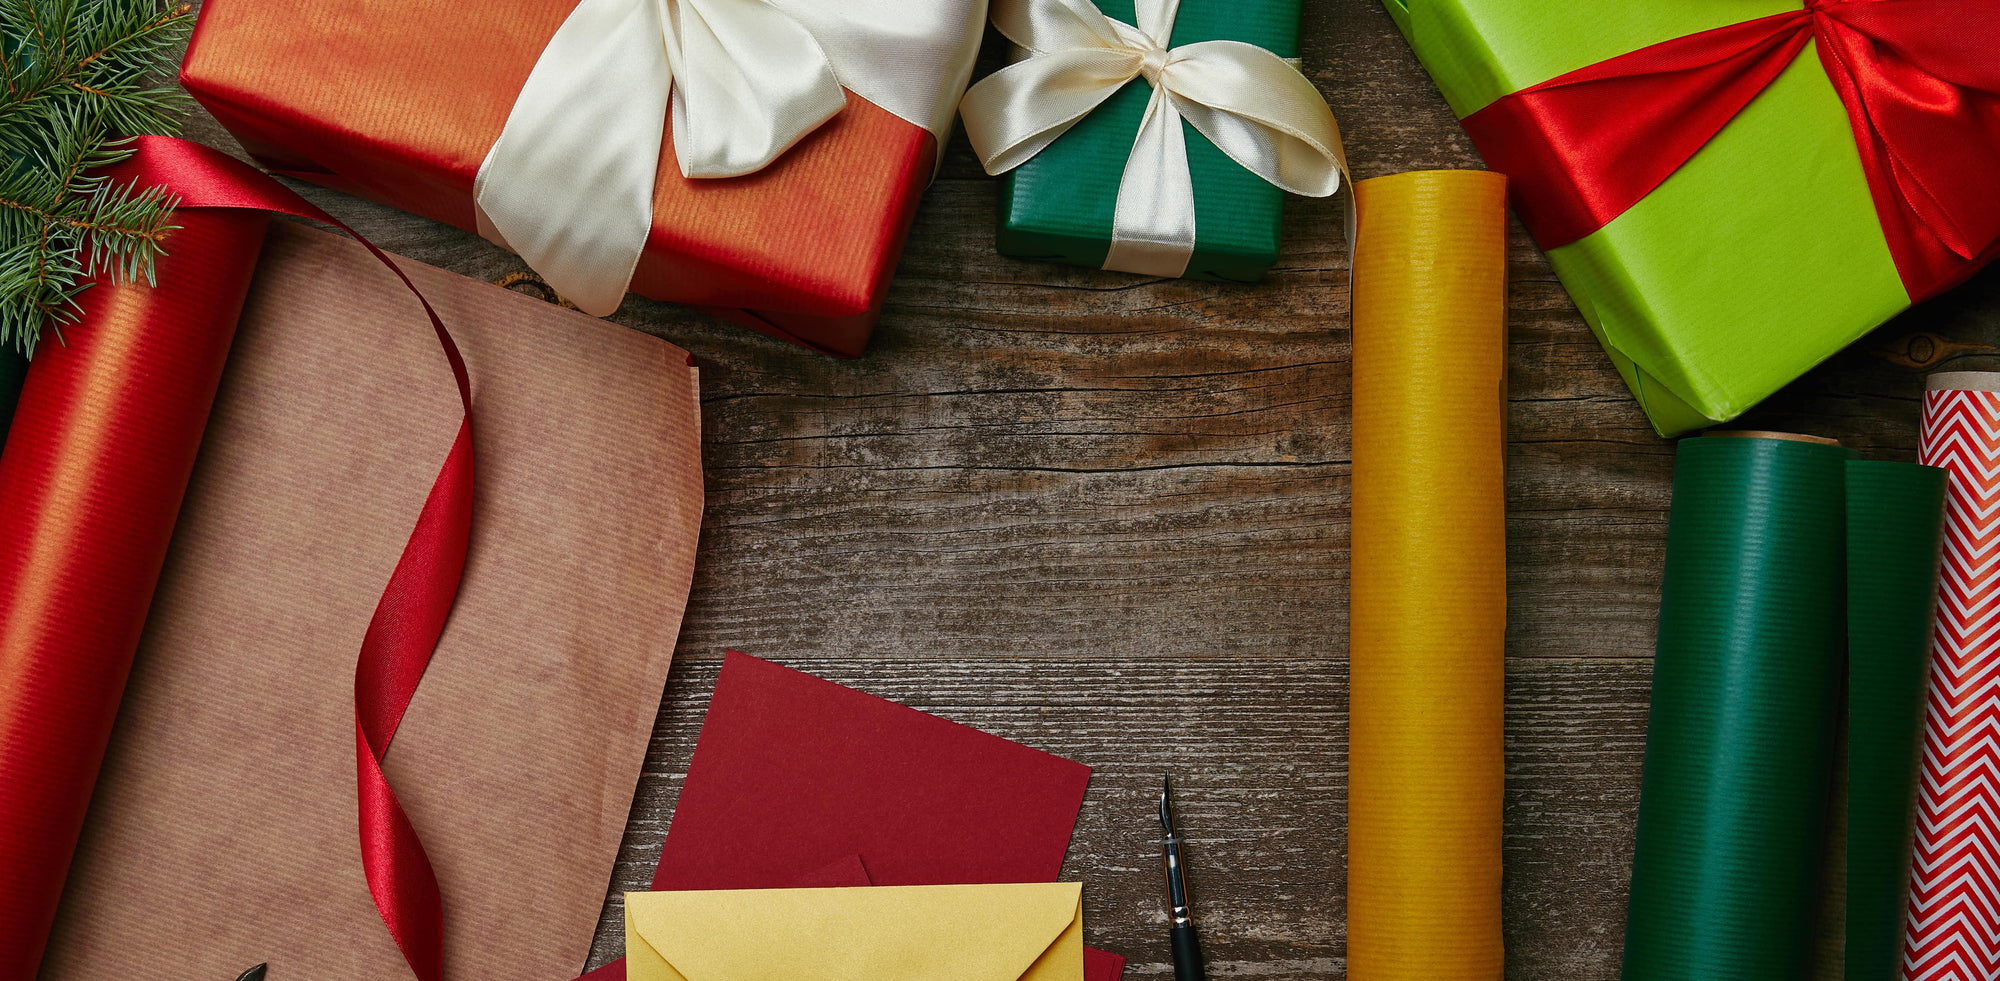
First, set up your supplies on a large, flat, and hard surface, so that your gift, wrapping paper, scissors, and tape are all right by you. Measure all sides of the box. Next, measure the wrapping paper to make sure you have enough for the box. As long as your wrapping paper is at least 2 inches longer than the box’s left and right sides, you’re good to go. Otherwise, you’ll need a second roll of wrapping paper, which should be the same wrapping paper design as the first for a neat and cohesive look.
Step 2: Roll Out Your Paper and Cut
Now, roll the wrapping paper out toward you, decorative side down. Make sure the wrapping paper is smoothed out. Place the box in the middle, making sure that both the top/bottom and left/right edges of the wrapping paper can wrap entirely around the box and have at least an inch overlapping. Then, cut in a straight, smooth line.
If you need more wrapping paper because the box is too large, then cut more wrapping paper to cover any exposed areas of the box. We recommend going with larger rather than smaller pieces, to create a more seamless look.
Step 3: Start Folding
Now, you can start folding and taping. First, take one lengthwise edge of the paper and bring it up and over the box. Then, do the same with the other edge, allowing it to overlap the first, and tape it in place. Next, move onto one side. Starting with the top edge of one side, fold two triangular flaps at either corner, directed toward the center of the box. Tape in place, and do the same with the bottom. Repeat on the other side. Again, if there are gaps because the box is so big you don’t have enough paper to cover it, we recommend wrapping the gift in a sheet of paper again, cutting a long enough piece to go around the entire length of the box.
Step 4: Embellish
Now that your box is wrapped, it’s time to embellish with bows, ribbons, or any other accessories that add that perfect finishing touch to your gift.
Wrapping a Big Box Doesn’t Have to Be a Headache!
We know that a large box can seem like an overwhelming task when it comes to wrapping, but now you can see that it’s simply a matter of using a bit more paper than you normally would. And, at Waterleaf Paper Co, we carry a wide selection of artisanal, sustainable, and eco-friendly wrapping paper products and accessories to make your oversized gift really pop.