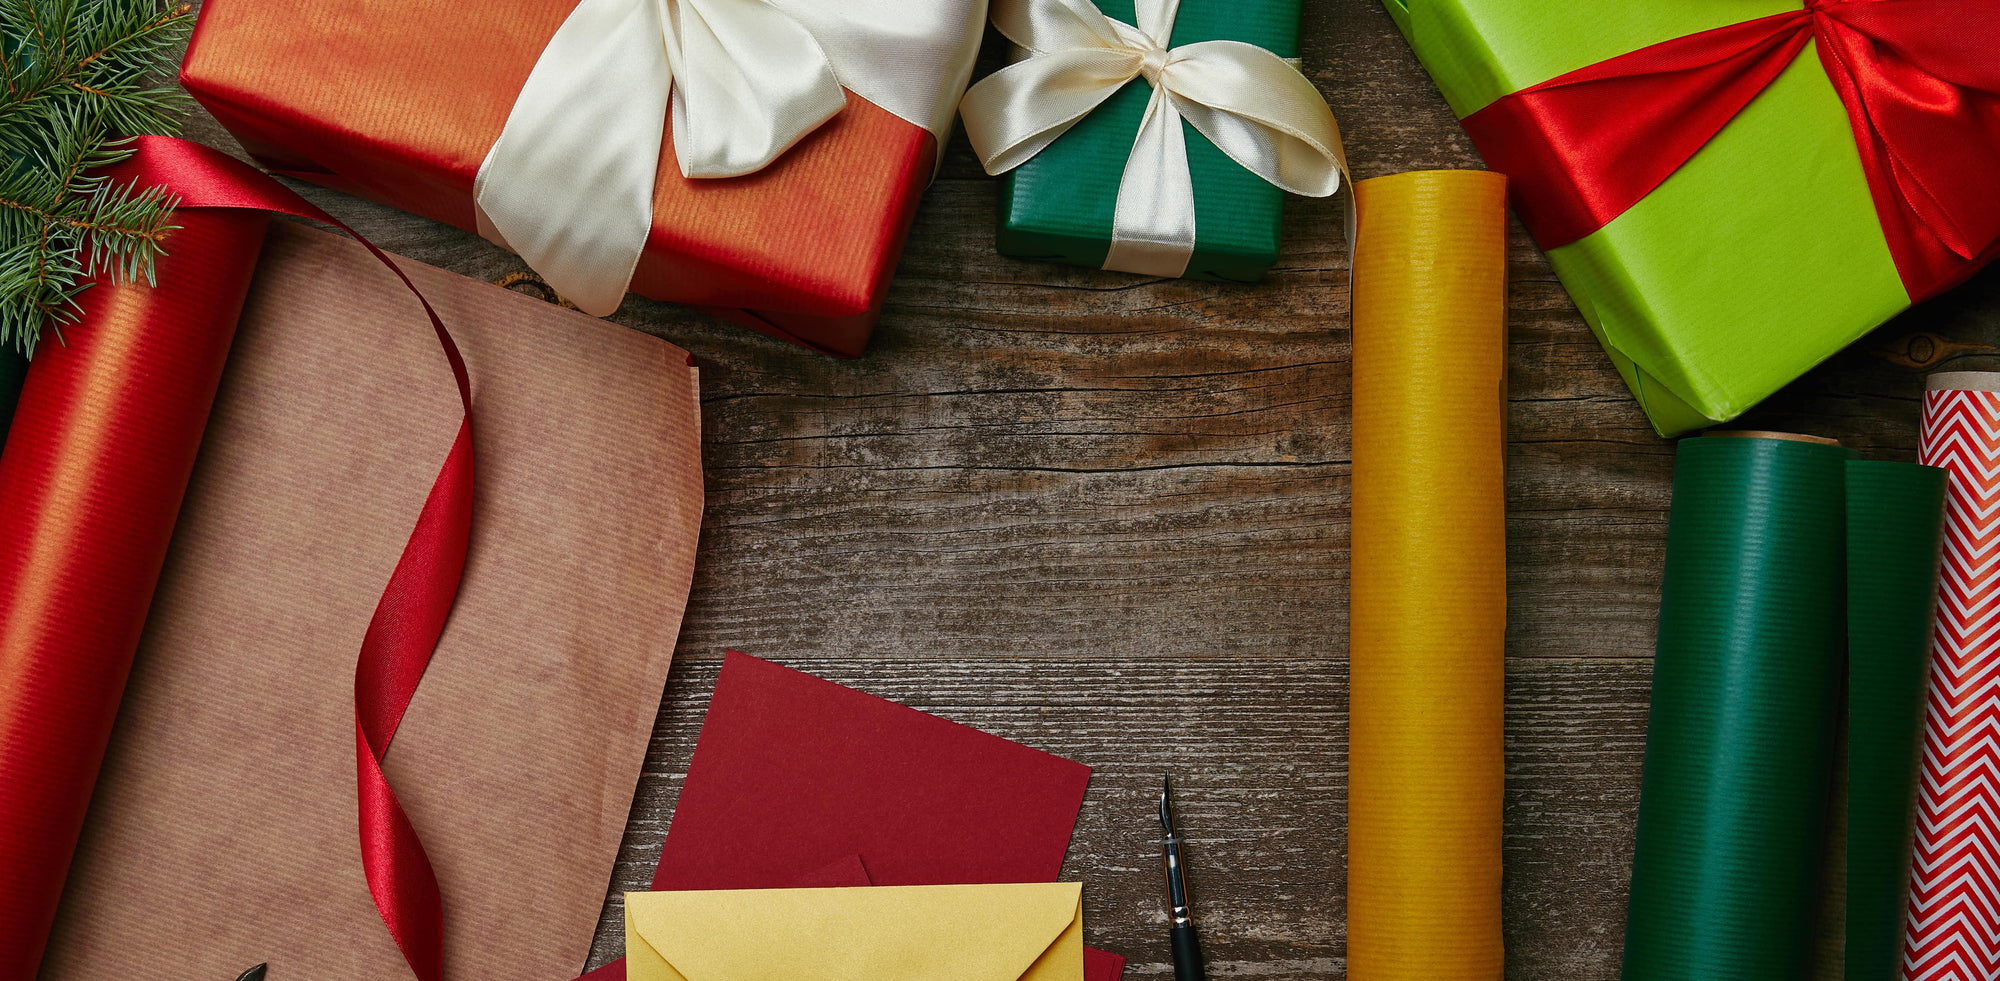
How to Make a Bow Out of Wrapping Paper


When it comes to wrapping gifts, many of us love to get creative, looking for new and unique ways to give a present that extra “wow” factor. And, if you’ve already exhausted the plethora of ribbons, twine, bows, and other accessories in your supply stash, we’ve got a new one for you: a bow made out of wrapping paper. Wrapping paper bows are aesthetically pleasing, allow for a super-cohesive look, and as an added bonus, act as a great way to use up those wrapping paper scraps that would otherwise get thrown away.
Let’s go over two different bow styles that each bring something striking to an otherwise ordinary gift.
How to Make a Bowtie Bow
A bowtie wrapping paper bow is perfect for those long strips of wrapping paper that you trim away when wrapping a gift – and we at Waterleaf love a no-waste hack that uses up every bit of paper that you have. A bowtie bow is a great way to give a gift a luxe edge, offering a bit of sophistication to an otherwise everyday present.
Step #1: Cut and Fold
First, you’ll want to cut a 2x24-inch strip of paper (the length can be a few inches shorter if necessary). Now, fold that strip in half.
Step #2: Trim
Now, you’ll want to trim this folded strip into the shape of a fish. That means a tapered end where the fold is, with a flat edge, followed by a long, rounded body with two tapered ends, and a “fish tail” that’s square at the bottom.
Step #3: Dovetail Cut
Open the wrapping paper and cut dovetail ribbon ends where it meets the “body” part of the fish.
Step #4: Fold
Now, it’s time to fold your bowtie. Fold the two ends toward the center so that they meet. Then, use a stapler or tape to fasten the dovetail ribbon ends behind the bow.
Step #5: Create the Center
Use a small strip of wrapping paper to create the center. Wrap it around the center of the bowtie and fasten with a stapler.
How to Make a Traditional Bow
For those out there who want to go for a more classic-looking bow with wrapping paper, here’s what you need to do.
Step #1: Cut Your Strips
Cut 3 1x10 and 3 1x12 strips of wrapping paper.
Step #2: Fold and Secure
Take each strip and fold in the corners of each end before stapling in place. The result is 6 strips with a point at both ends of each one.
Step #3: Start Layering
Layer each strip on top of one another and staple together at the center. The longer strips go on the bottom, and the shorter ones on top. Now, fold each ribbon toward the center to mimic the look of a classic bow, and staple once more to hold in place.
Step #4: Add the Center Loop
Take a small strip of wrapping paper and fold it into a loop. Tape this at the center of the bow. Now, you can fluff out your bow and tape it to your gift.
These Wrapping Paper Bows are Resourceful and Beautiful at Once!
Wrapping paper bows are a nice change from the typical bows you buy in bulk, showing the recipient that you care enough to take the time to make one from scratch. They’re also easy to pull off, and allow you to use up leftover wrapping paper scraps that would otherwise get thrown away – because let’s face it, wrapping paper scraps are usually an annoying byproduct of wrapping presents. We recommend practicing before you’ll actually be wrapping a gift, so that when the time comes, you’ll already have developed your skills.