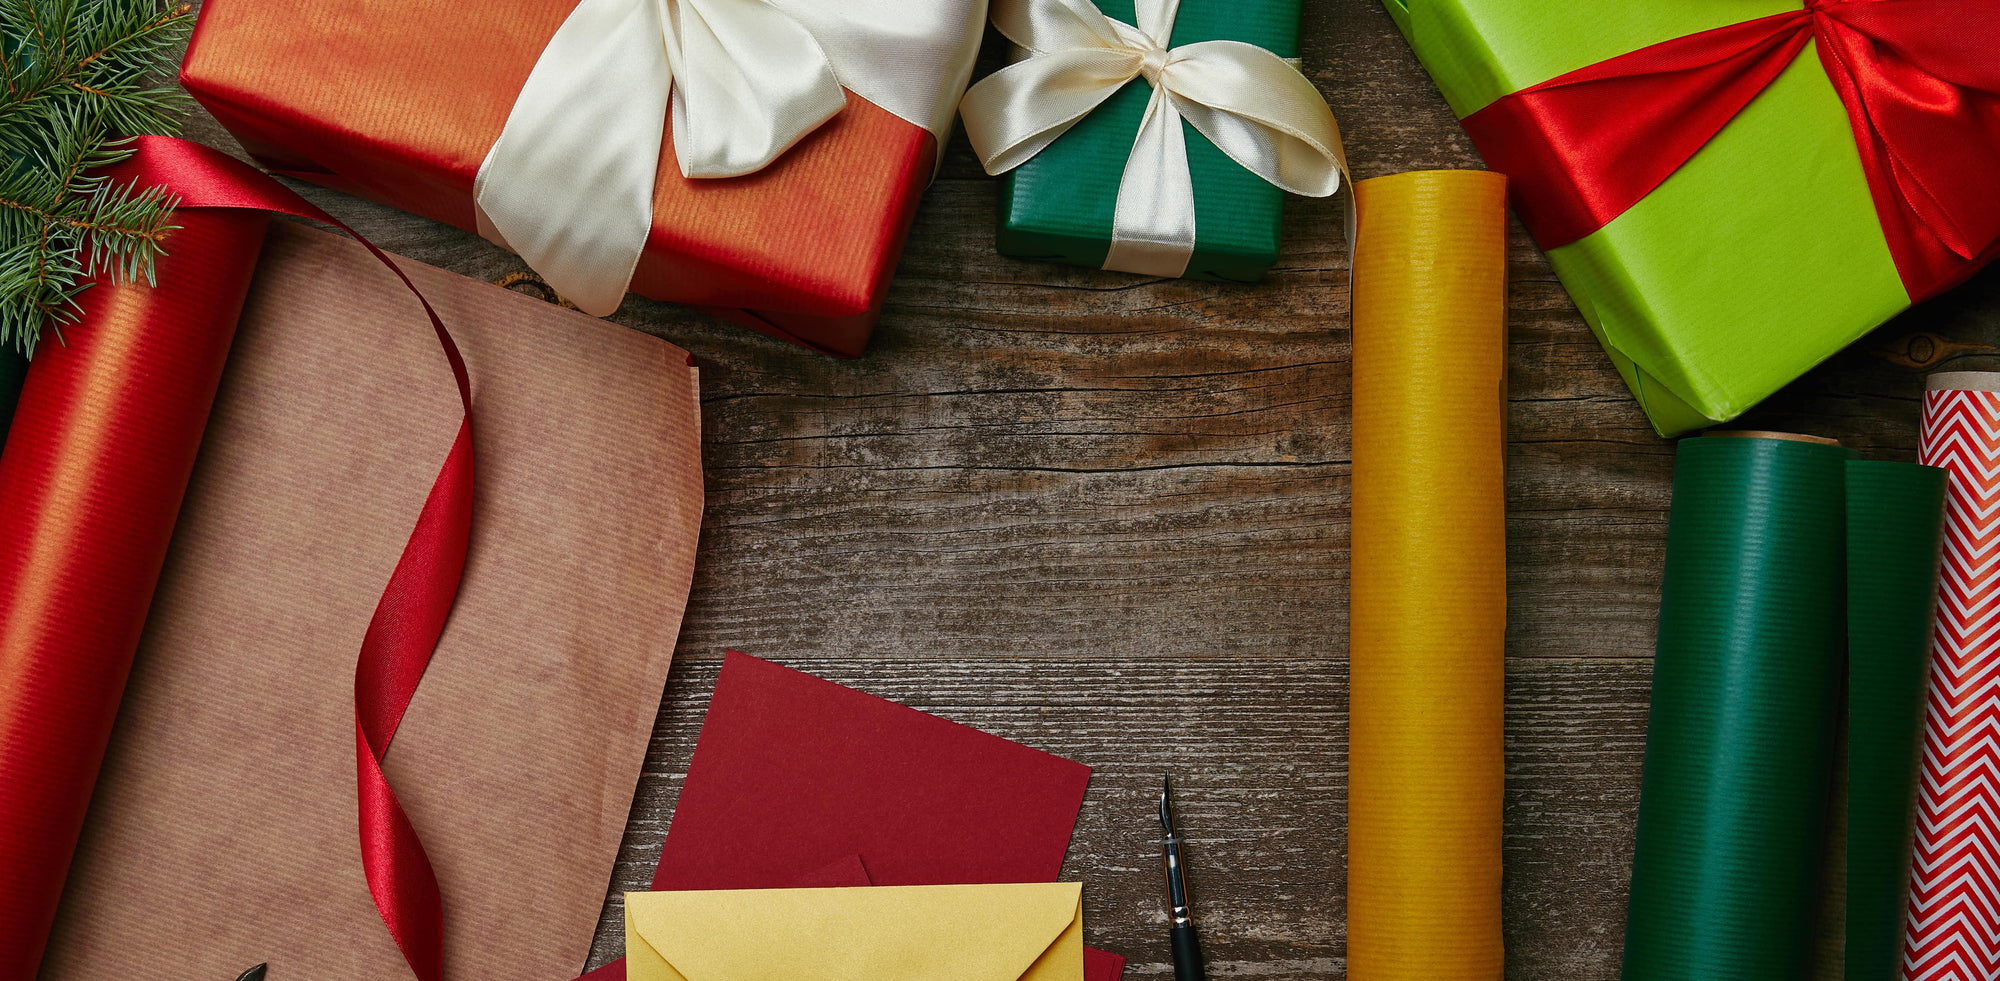
How to wrap odd shaped gifts


Some of the best gifts come in odd shapes and sizes – think a vase, a stuffed animal, or a sculpture that really captures a person’s aesthetic. And, as we all know, it’s a lot easier to wrap, say, a perfectly square gift than something with lots of angles and pieces sticking out. But, does that mean that it can’t be done? Of course not.
Let’s cover 2 great hacks to wrapping oddly shaped gifts, that will allow for the visual impact that you’re looking for.
Method #1: Put It in a Box
One method that never fails is simply putting that oddly shaped gift in a box, and wrapping the box as you normally would. Just about any gift can fit inside a box, and if you’re going for a look that’s as neat and tidy as possible, or a way to wrap your gift without it being too obvious what the gift is, this may be the way to go.
Step #1:Place the gift inside of the box and get your supplies ready: your wrapping paper, scissors, tape, and any embellishments like bows or ribbons. Make sure you have a flat, hard surface to work on.
Step #2:Now, roll out your paper, decorative side down, with the open end facing you. Roll out enough that you can fit the box onto the unrolled paper with a good amount sticking out on all four sides. Make sure to position the box so that you have enough paper on all sides to fit over the length, width, and height of the box, with an inch of overlap taken into account.
Step #3:Cut the paper carefully, so that you have straight and smooth lines. Now, bring one end of the paper up toward the top of the box, and secure with tape. Do the same with the other side, allowing for an inch overlap. Then, take one of the ends, and carefully fold the two corners inward before pulling up toward the top of the box and securing with tape. Do the same to the other side.
Method #2: Make a Wrapping Paper Gift Bag
Another method is making a gift bag out of wrapping paper, which can work if the gift isn’t too heavy – like, for instance, a stuffed animal.
Step #1:First, roll the paper out toward you, and place the object in the center. You want a good amount of room on both sides lengthwise so that you can wrap the gift and still have a few inches of space on each side. Cut accordingly.
Step #2:Now, cut across the roll, allowing for about 6 inches of space on both the top and bottom of the gift.
Step #3:Fold one side of wrapping paper toward the center of the gift, lengthwise. Allow a little bit of slack as you’re not trying to wrap the gift tightly. Fold the other side over and secure the two pieces together with an inch or two of overlap.
Step #4:Now, let’s secure the bottom of the bag. Take one corner of the bottom and fold it into a triangle toward the center of the bag – about 2-3 inches across. Tape it to secure it. Now, do the same with the other side.
Step #5:Secure the top of the bag by simply folding the top inch of the top down, neatly, and folding that a second time before securing it with tape.
Got an Oddly Shaped Gift? No Problem
Oddly shaped gifts may seem like a pain to wrap, but in reality, there are two simple solutions that don’t require meticulously wrapping them and using up a whole lot of paper. These zero-waste hacks will save you loads of time, while still ensuring an attractive-looking gift.
Waterleaf Paper Co offers lots of wrapping paper options to choose from, all eco-friendly and sustainable, to allow you to use either method on any gift that you need to wrap perfectly. Explore our selection of wrapping paper and accessories today!