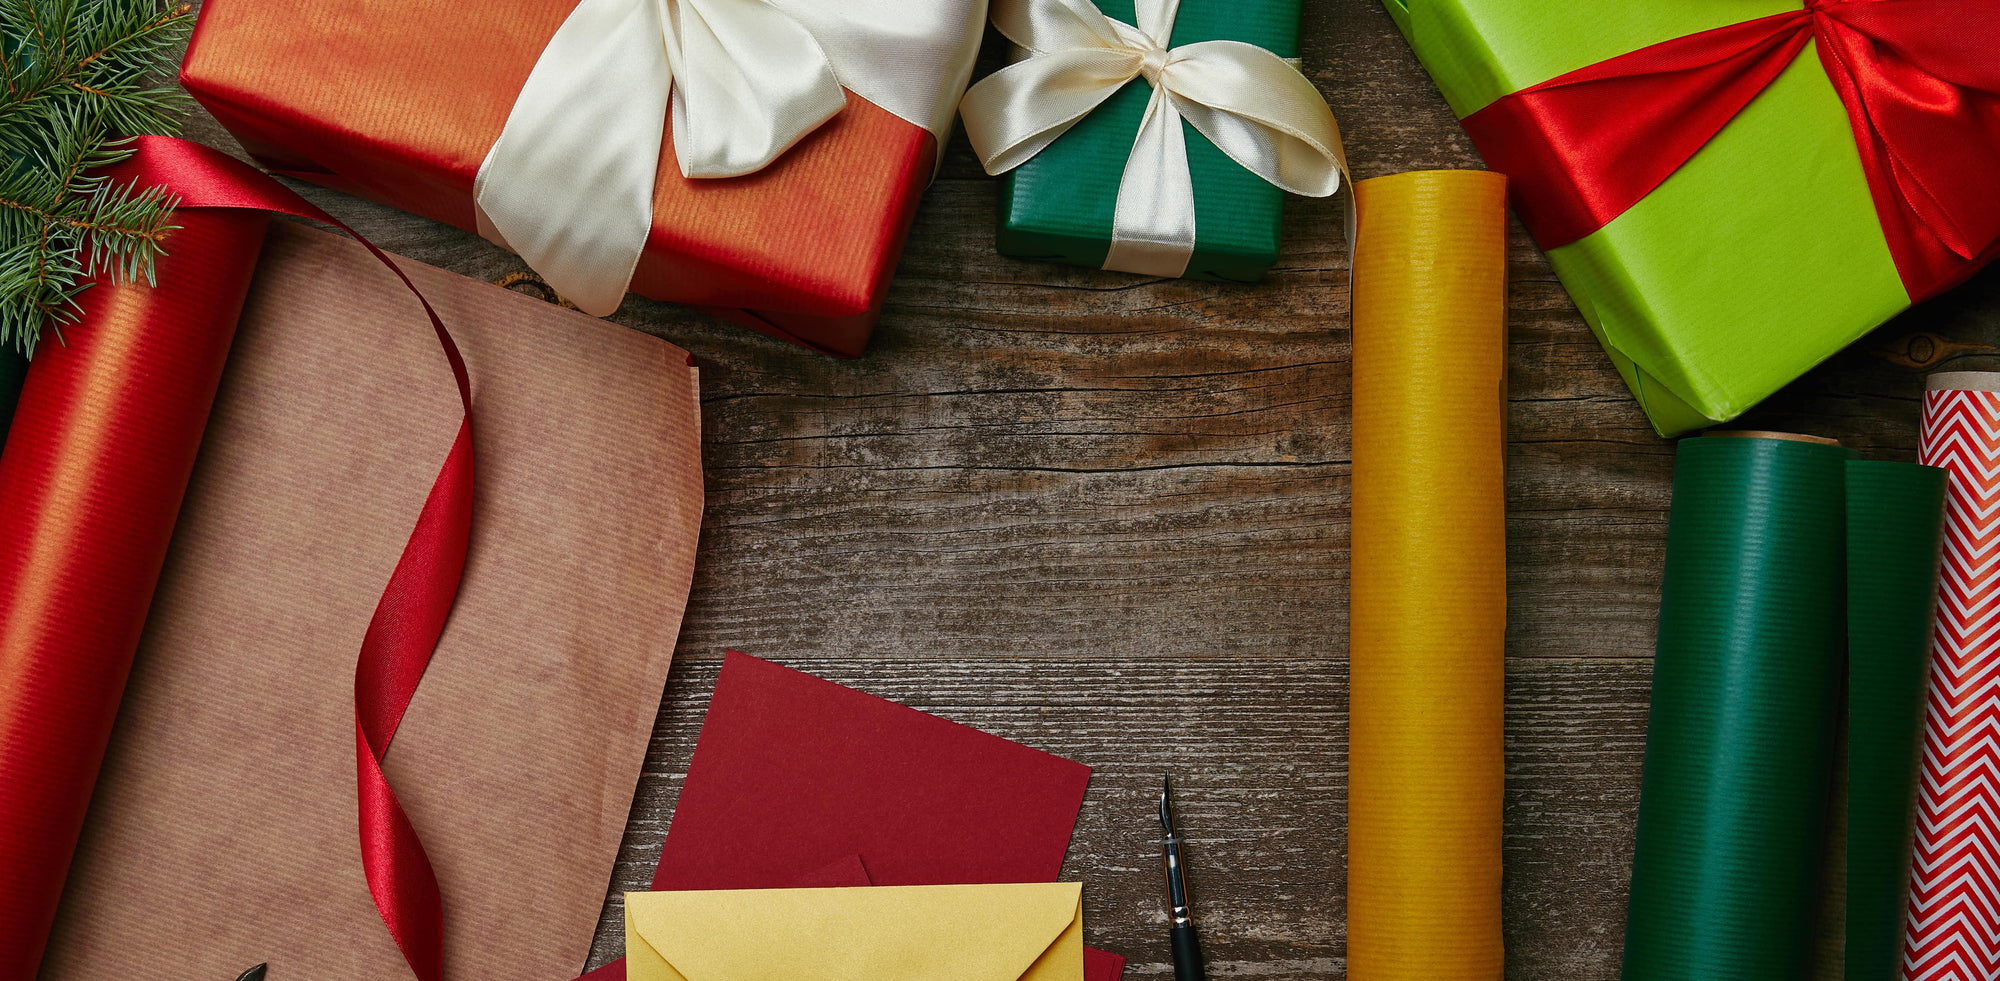
How to Wrap a Cylinder in Wrapping Paper


Most of us know how to wrap a gift that’s rectangular or square in shape with wrapping paper. But, things can get a little tricky when you start working with other shapes. One of the easiest shapes to wrap besides a rectangular or square is a cylinder. But, there is still a right and a wrong way to do it, if you want to end up with a tidy and attractive-looking gift to present to a loved one.
Below, you will find out the proper gift-wrapping method for cylindrical shapes.
Step #1: Cut Your Paper
The first thing you’ll want to do is unroll some wrapping paper on a flat surface. Now, place your cylindrical gift at the base of the unrolled paper (the end furthest from the wrapping paper roll), on its side, so that the length of the gift is parallel to the length of the wrapping paper. Hold the edge of the wrapping paper against the center of the gift, and then use your hands to slightly pull the gift back to make sure it’s taut – sort of like you’re about to wrap a burrito. Roll the gift toward the wrapping paper roll along with the wrapping paper, until the wrapping paper is completely wrapping the gift, and you have about a ½ to 1-inch overlap. Cut the wrapping paper when you reach this point, across.
Step #2: Fold
Now, make sure the wrapping paper is rolled around the gift like before, and secure the seam with tape.
Step #3: Do a Fan Fold on the Bottom
If necessary, trim the two remaining edges so that you have just enough wrapping paper hanging over either side to fold each side over the gift completely, without leaving so much that it would create a bulky fold. Starting with one side, fold one edge of the wrapping paper toward the center of the gift, and simply hold it down with your finger. Now, take the other side and start making pleats, by creating small triangle folds that are each folded toward the left. Go around the entire circle, making a series of small pleats until the end is completely covered and there is no more excess wrapping paper remaining. Secure this end with tape, and then do the same on the other side of the gift.
Some Extra Tips for a Beautifully Wrapped Gift
Now that you have the basic method down, let’s add some tips to make sure that your gift looks like it was done professionally.
- Make sure that you’re using either thin, clear or double-sided tape, that’s as close to invisible as possible.
- Use sharp scissors to avoid jagged lines, and make sure you’re cutting straight lines for a neat appearance.
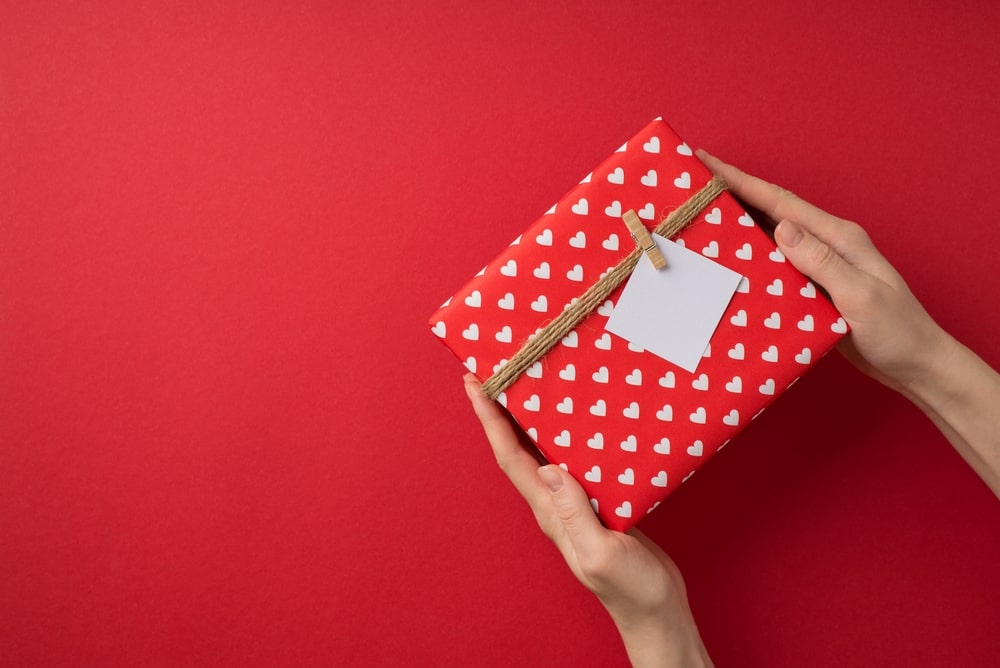
- Once you’ve wrapped your gift, use some ribbons or bows to make it look extra special. Feel free to look online for inspiration to pick out a creative, beautiful way to present your gift with embellishments.
Follow This Method for a Beautiful-Looking Gift
Wrapping a cylindrical gift can be intimidating, but the good news is that the process is actually quite simple. The key is taking your time to make sure that everything looks as neat and tidy as possible. If you have a cylindrical gift to wrap, check out the wrapping paper at Waterleaf Paper to get started with the right paper design. Our wrapping paper comes in many beautiful options that add that special extra touch.